Subscribe Our Channel


Retrieve Site URL Use site_url() to get the site’s base URL dynamically: <xmp><?php echo site_url(); ?> </xmp> Example […]
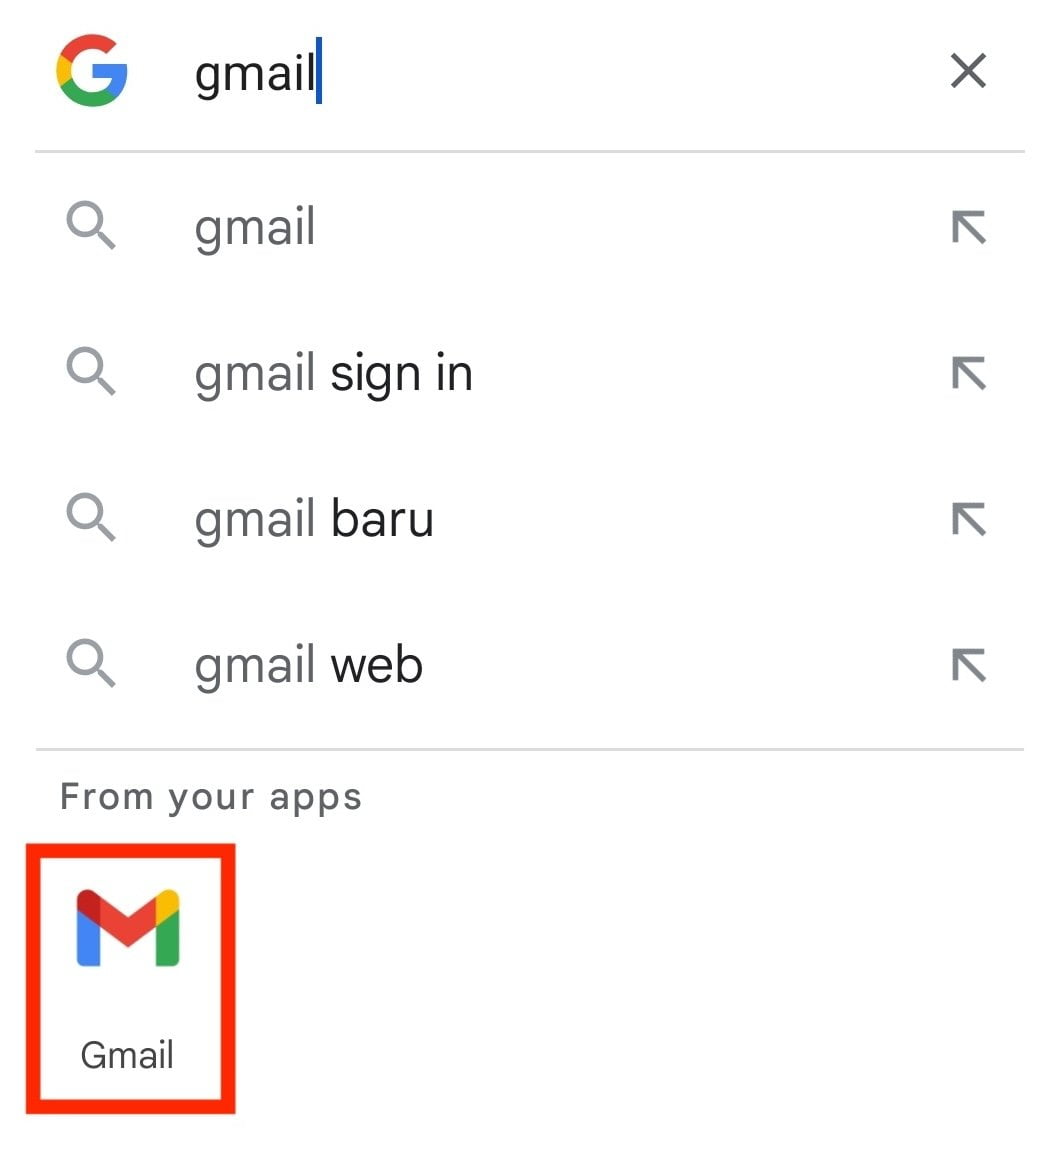
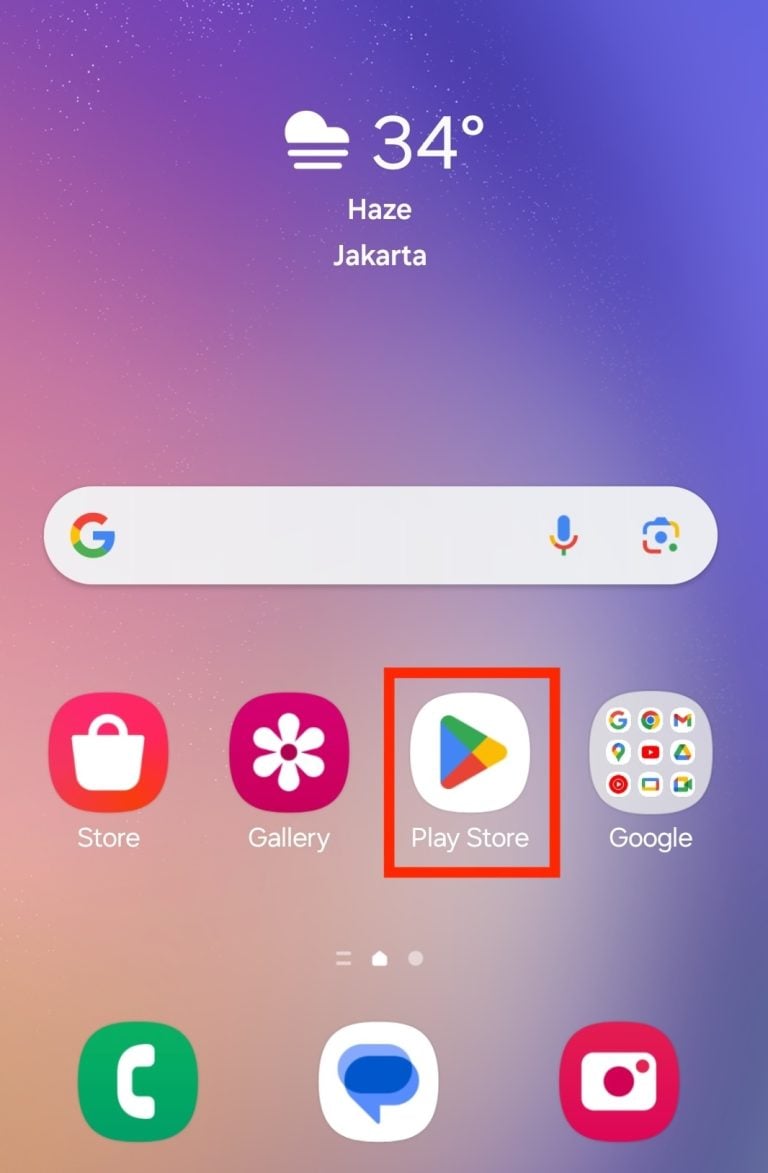
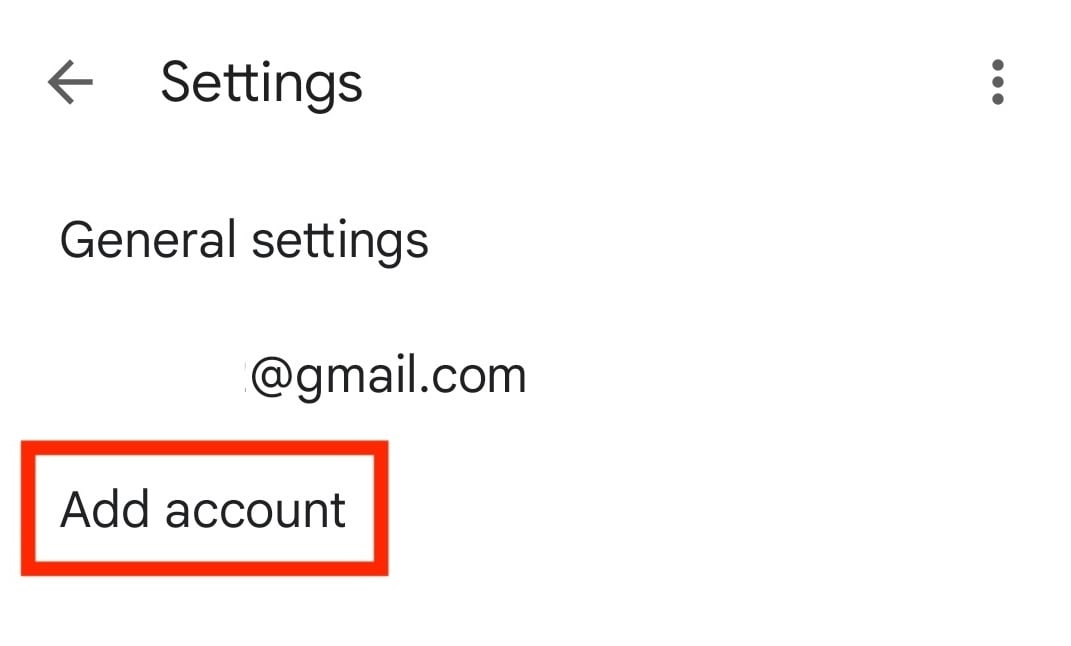
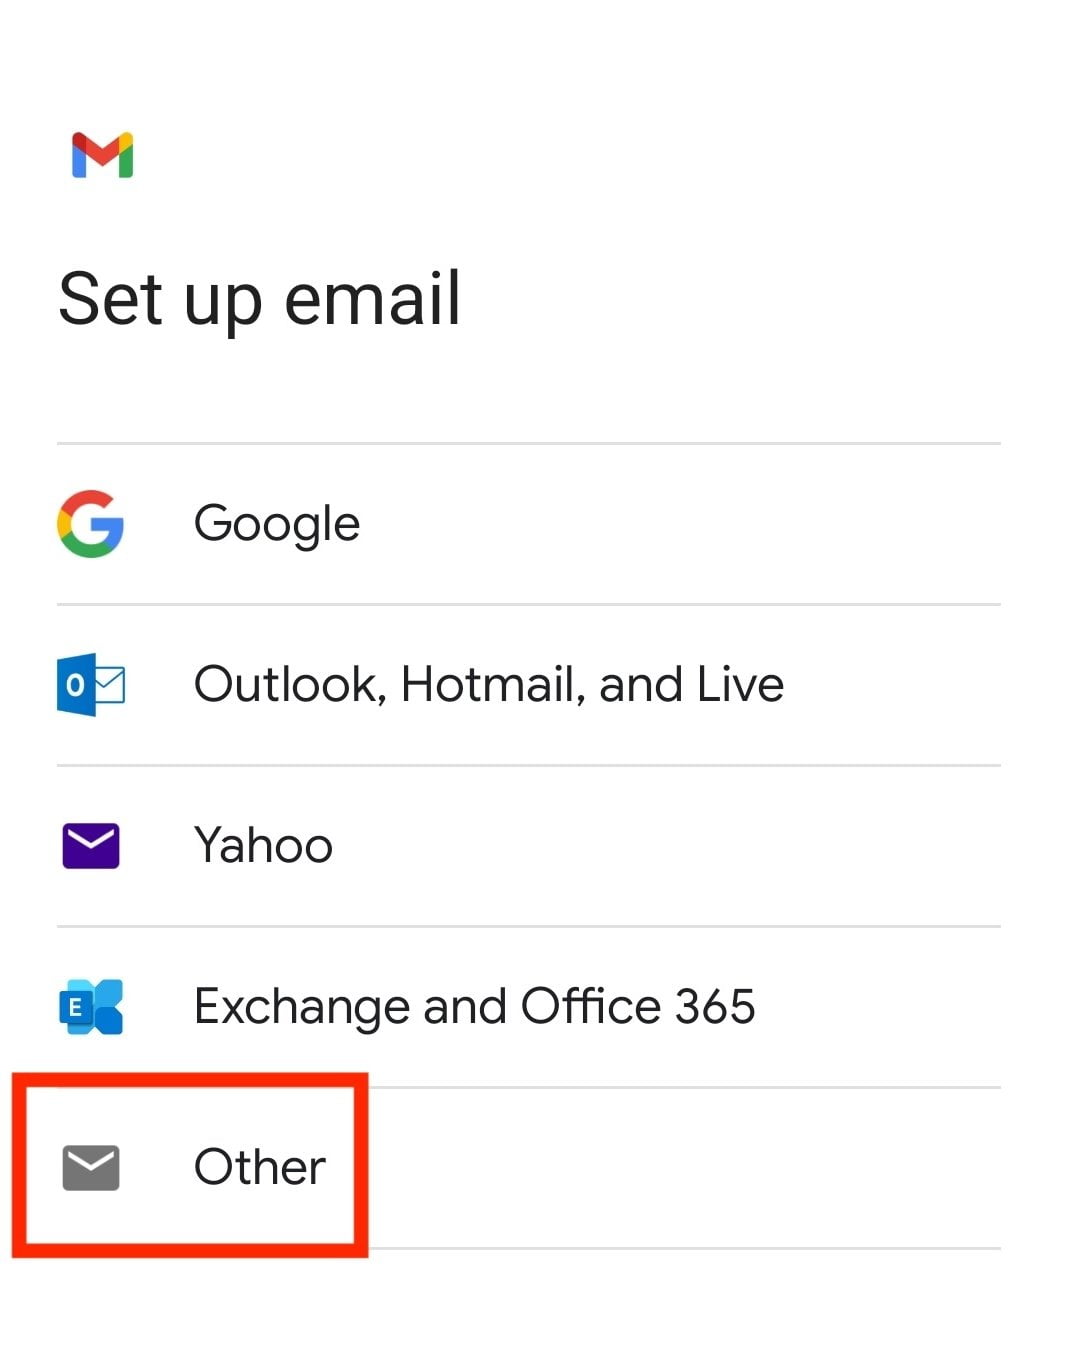
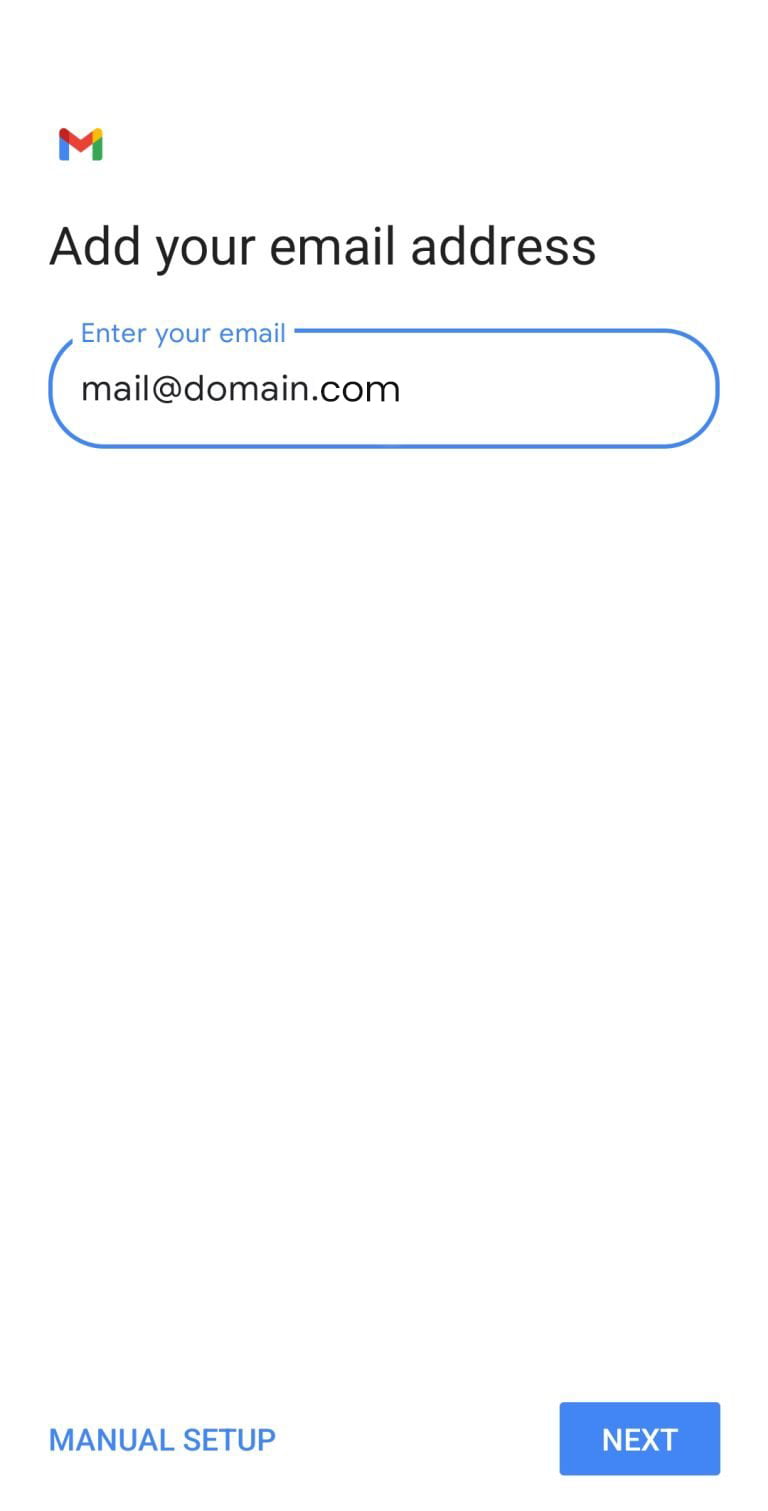
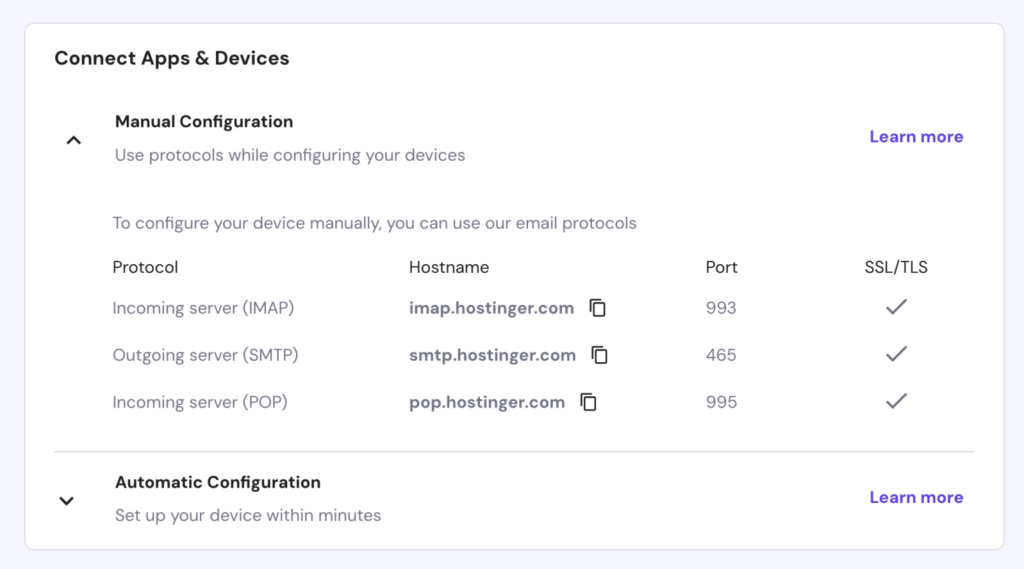
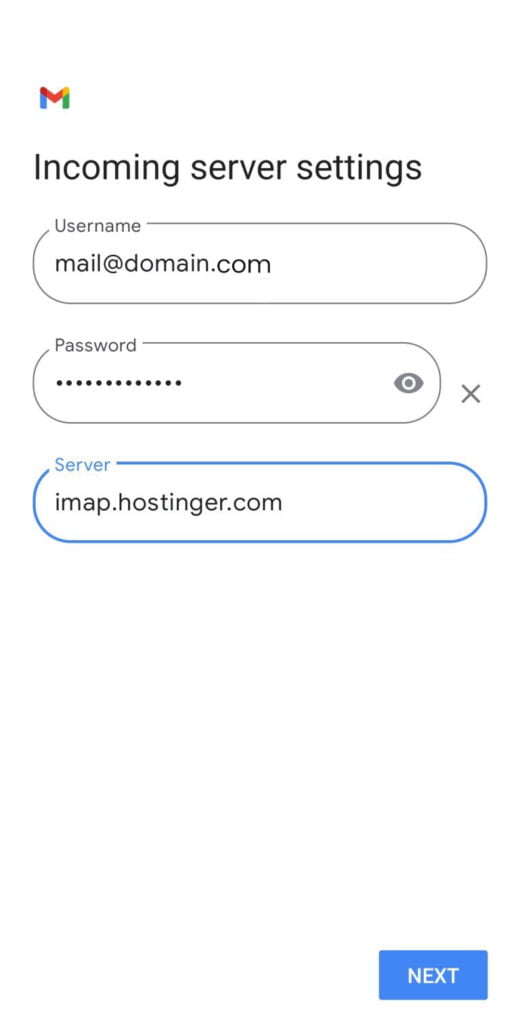
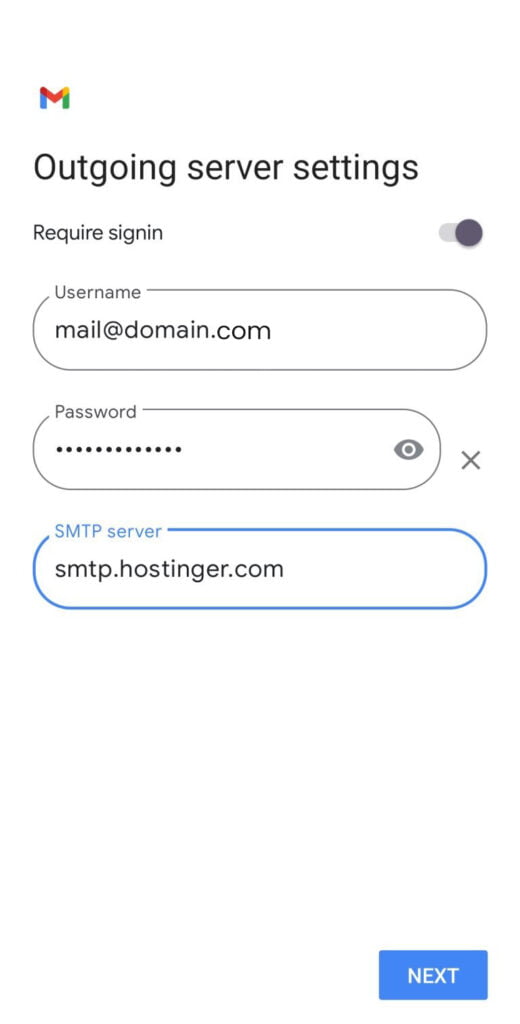
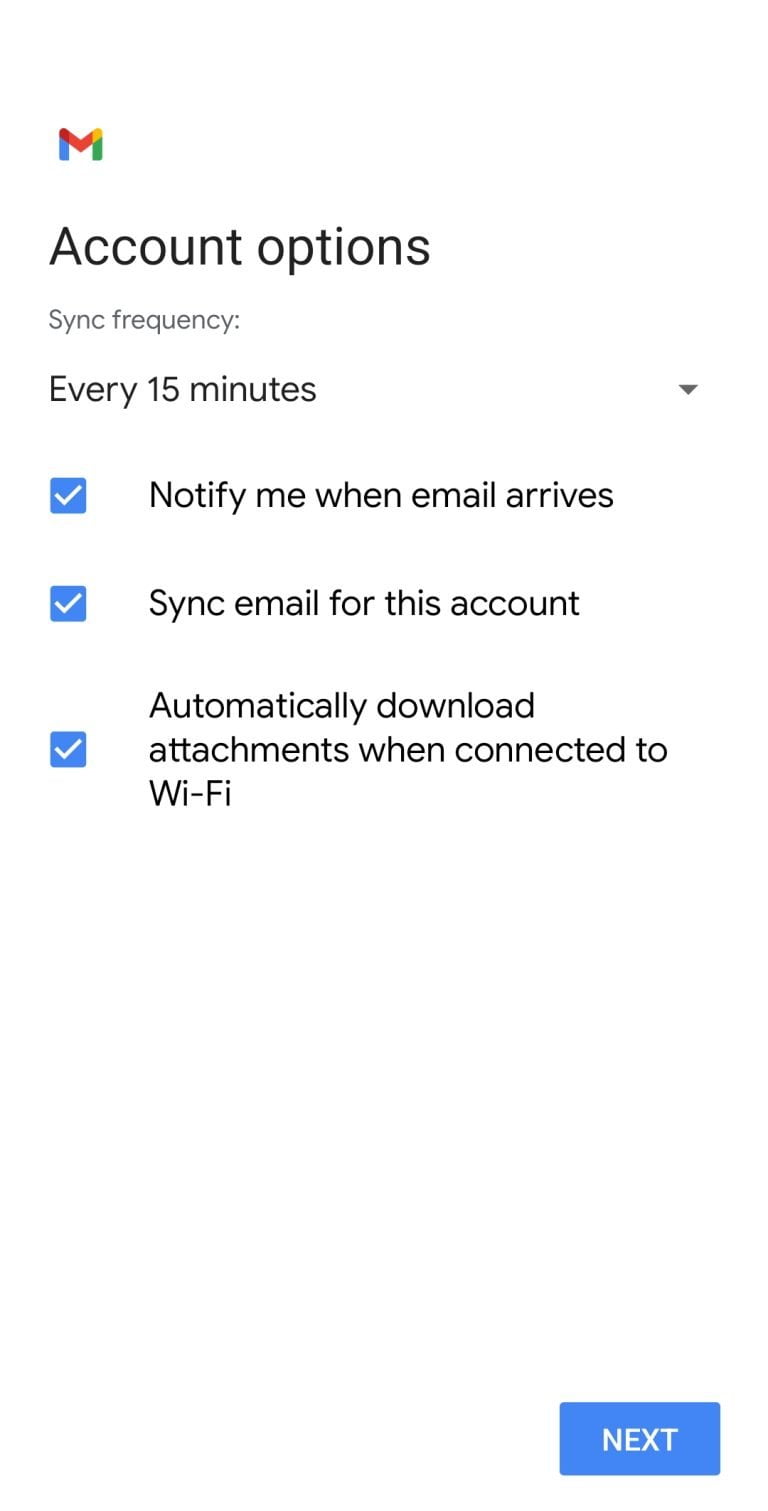
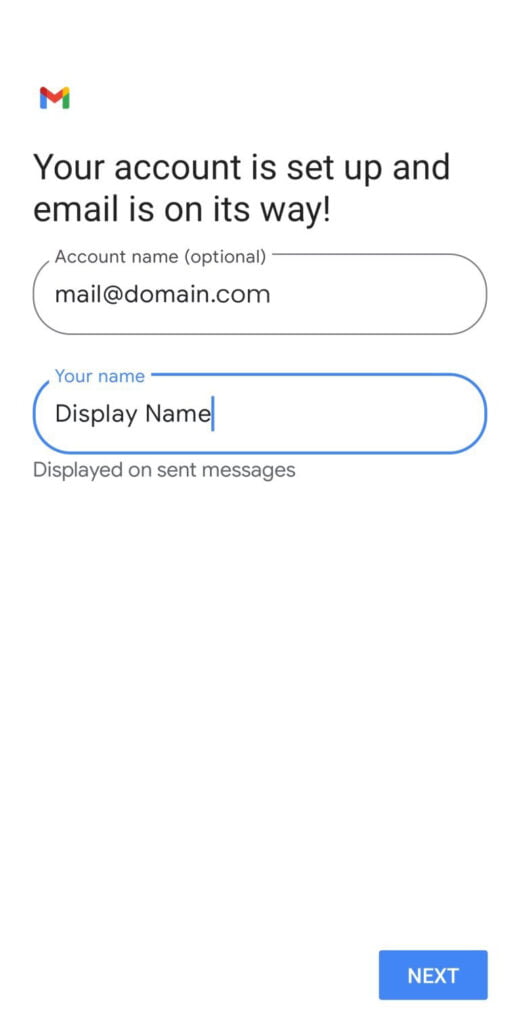
Setting up email accounts on your Android device is important for staying connected and managing your messages while […]
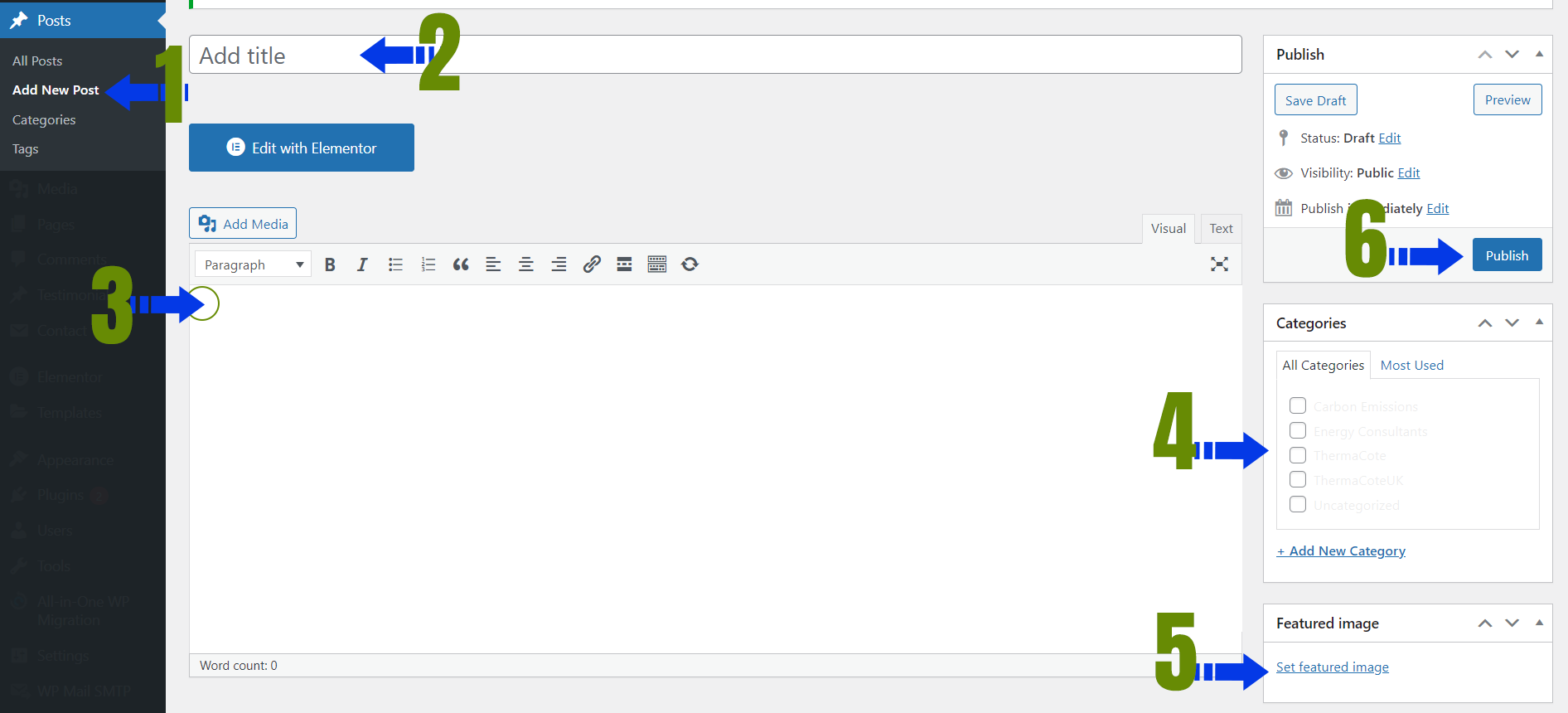
To add a new blog post in WordPress, follow these steps: Log in to Your WordPress Dashboard: – […]
Variables are Storing Data Container JS Variable can be declared in 4 ways : Automatically Using var Using […]
In this example: If the input box is empty, an alert is shown. If there’s text in the […]
Starting the development of a custom WordPress theme named “w3syllabus” involves several steps. Here’s a basic outline to […]
[tel* tel-939 minlength:2 maxlength:15]
Theme folder and file structure ├── assets (dir)/ │ ├── css (dir) │ ├── images (dir) │ └── […]
What is an Operator? Let us take a simple expression 8 + 9 is equal to 19. Here […]
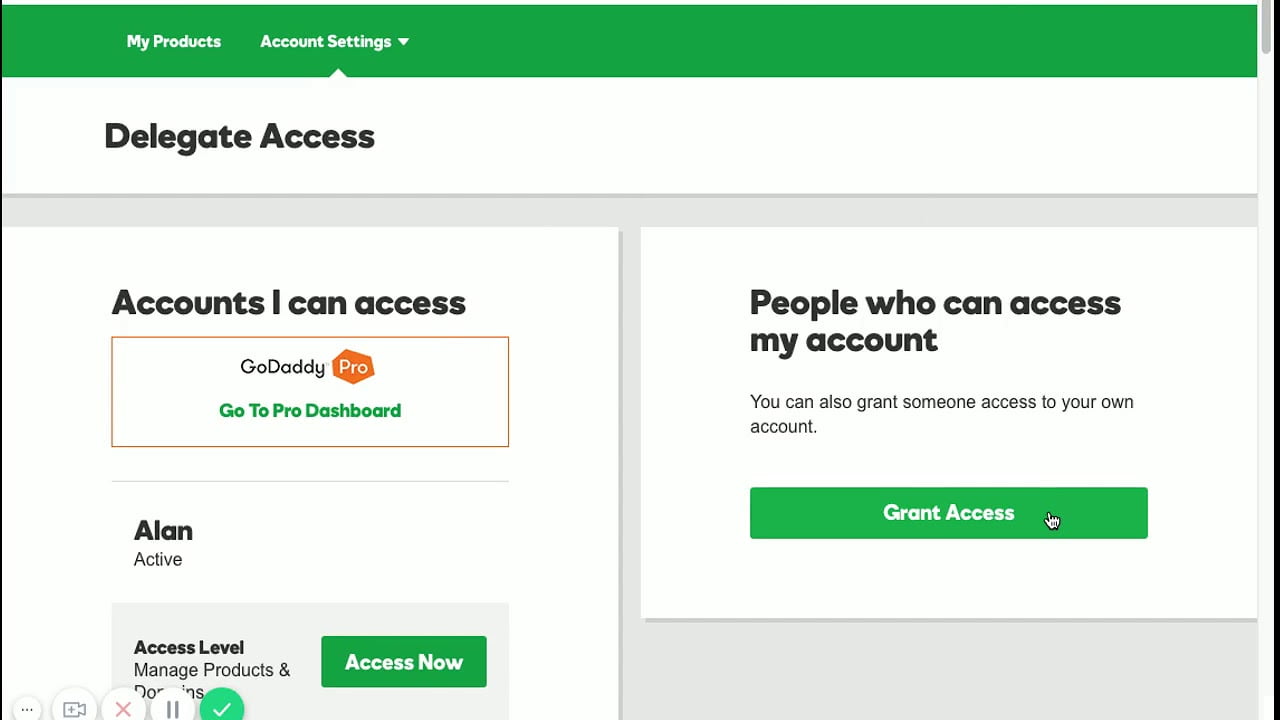
You can invite a delegate (like your web designer or developer) to access the GoDaddy products in your […]